Improved frequency reference for ELV FC-500
As one of my first electronics projects, two decades ago I built a ELV FC-500 frequency counter out of a kit. It has worked great and found use in several projects where I have needed to check the accuracy of oscillators. I just wished for a bit more accuracy on the meter.
Original design
The FC-500 is based on a 24-bit ripple carry counter implemented with 74HC393 chips. A microcontroller controls clock gating and counter reset, and reads out the final count for display. The display has 8 digit resolution, providing display resolution of 0.1 ppm. This far surpasses my DS1054 oscilloscope, which only provides three digits in its frequency measurement.
Amazingly, the original schematics and build instructions are still available from ELV journal, split into part 1 (schematics) and part 2 (build instructions). For the price of 1 EUR, I decided to buy both parts as PDF instead of trying to find the original magazines from my archives.
What I really like about this device is that it correctly implements input-synchronous sampling of counter. This means that it is able to display accurate frequency and period down to 0.01 Hz and possibly lower. This was very handy for calibrating a clock that gave pulse once a minute.
Improving the accuracy
The original design uses a basic 4.096 MHz clock crystal, combined with a trimmer capacitor. The capacitor allows adjusting the meter using a known reference source. However there is no temperature compensation for the crystal, which has about 0.2 ppm/°C slope. My FC-500 had a few ppm of inaccuracy in room temperature before I started this project.
For highest frequency stability, common choises are ovenized crystal oscillators and rubidium references. For a portable device like FC-500, these are too large, too power hungry and require continuous power.
Temperature compensated crystal oscillators are a reasonable alternative. For a device like this, you want a VCTCXO: VC for voltage controlled, TC for temperature compensated, XO for crystal oscillator. Voltage control allows adjusting the oscillator for initial calibration. Temperature compensation should keep it accurate after that.
What remains is the aging of the crystal. Typical VCTCXOs have ± 1 ppm per year aging specification. There are MEMS based oscillators that are much more stable than this, but also more expensive.
A complication is that VCTCXOs with 4.096 MHz frequency are quite rare. Fortunately 16.384 MHz is better available, and a divide-by-four circuit can be built with two flipflops. As possible options, I identified the following parts:
- LFTVXO009905BULK: 14 EUR, crystal, ±0.9 ppm stability, ±1 ppm/year typical aging.
- AST3TQ-V-16.384MHZ-28: 18 EUR, crystal, ±0.3 ppm stability, ±1 ppm/year max aging.
- SIT5356AI-FN-30VT-16.384000: 73 EUR, MEMS, ±0.2 ppm stability, ±0.06 ppm/year typical aging.
As tempting as the MEMS accuracy is, I decided to go with the cheapest one for now. They are all pin compatible, so an upgrade is easy to do if I ever want to.
Divider circuit
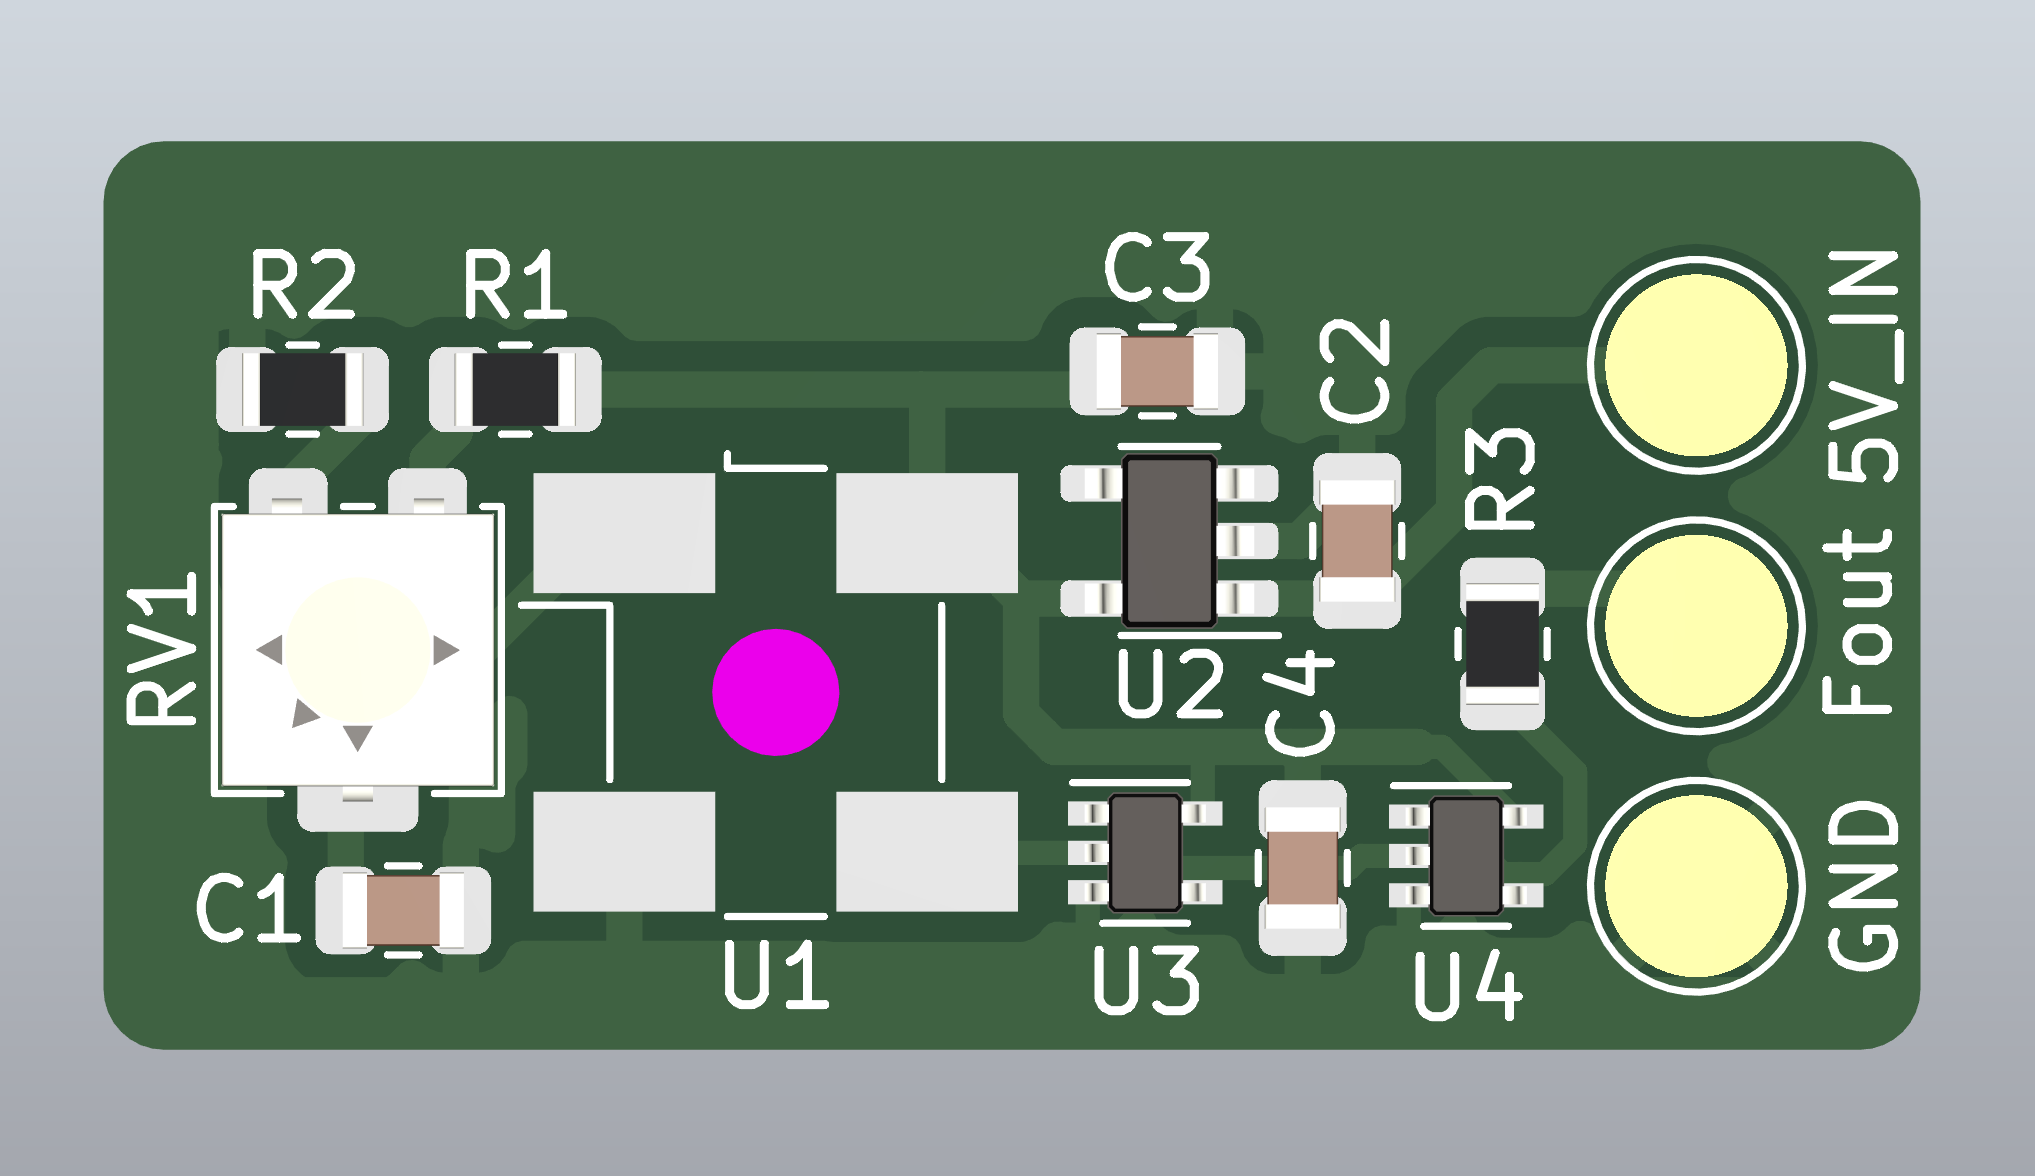
FC-500 operates with a 5 V logic supply, so I needed a voltage regulator to provide 3.3 V for the VCTCXO. Other than that, there are the two flipflops for dividing the output frequency and a trimmer resistor for adjusting the control voltage.

The PCB is a 1-layer design, suitable for DIY manufacturing by etching or milling.

Installation


Many microcontrollers have two pins that the crystal resonator connects between: Xin and Xout. These are the signals of an internal inverter gate used for implementing a crystal oscillator.
When replacing a crystal resonator with an external crystal oscillator, the signal must be fed into Xin. This is the pin with the variable trimmer capacitor, if the circuit has one. You can also measure the amplitude with oscilloscope (with probe in 10x mode), where the Xout pin will show higher peak-to-peak voltage. In this case I was able to check the pinout from the original schematic.
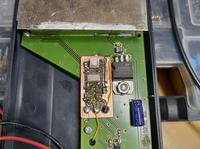
I glued my small auxiliary PCB near the battery compartment, and ran a wire to the microcontroller that is below the LCD display. The original crystal has to be desoldered, but initially I left the variable capacitor in place.
This however caused a bit of a problem. The large capacitance at the end of a long wire, combined with high slew rate of 74LVC80 flipflops caused large spikes. Debugging this was complicated by the weird behavior of the MIC5504 regulator I originally had in the circuit. Apparently high frequency spikes can couple into its feedback circuit, causing output voltage to drop. They do mention in datasheet that "The MIC5501/2/3/4 is not suitable for RF transmitter systems.".
Adding a 100 ohm series resistor on the output and cutting the trace that led to the trimmer capacitor made things a lot better. I had already switched the regulator for XC6210, which proved stable even under the less than ideal conditions. A final issue was that I had to cut a small groove in the LCD display holder to have space to pass the wire underneath.
Calibration

I used a GPS module with pulse-per-second output as the calibration source. Careful adjustment got me to the correct 1 Hz reading, but there seems to be a small disrepancy in the last digit between period and frequency measurement modes. Probably this is a limitation of how accurately the firmware does mathematics. I guess the high-accuracy MEMS oscillator would have been somewhat wasted in FC-500.
Design files
The KiCad design files for the clock divider are available here.
– Petteri Aimonen on 29.11.2023
