
Tiny brass figures
These tiny figures are carved from 4 mm brass, the same material I used in the toy car. The tools required are just Dremel (or any other miniature drill and bits), an utility knife, some files, and a hacksaw.
Cat
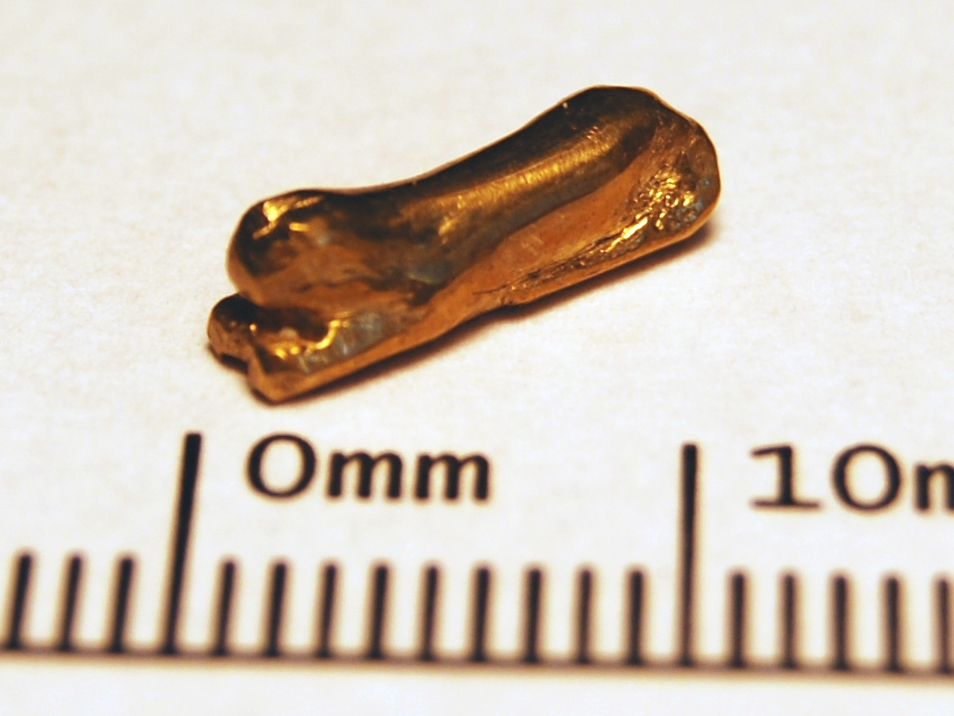
The cat was the first figure I made. I used a hacksaw to separate the legs from the head and to make the grooves between its ears and legs. Rest of the basic shape is done with Dremel. I kept the figure connected from the back until it was almost done, to make it easier to hold.
The details were done with a sharp utility knife. Brass is soft enough to carve, just be careful not to hit your fingers.
Carving with a knife leaves a smooth, even surface, unlike small drill bits. You can see this in the photo: the front leg has a smooth surface made with a knife, whereas the part above the tail is carved with Dremel. The latter part is concave so I couldn't get there with a knife.
On the other hand, the back of the cat is smoothed on Dremel with a larger sand paper bit. Therefore it is even shinier than the leg.
Finally, I polished the figure on Dremel and cleaned it with a toothbrush. The brass I have seems to stand corrosion quite well; the figure is six months old in the photo but has yet to become stained.
Hedgehog
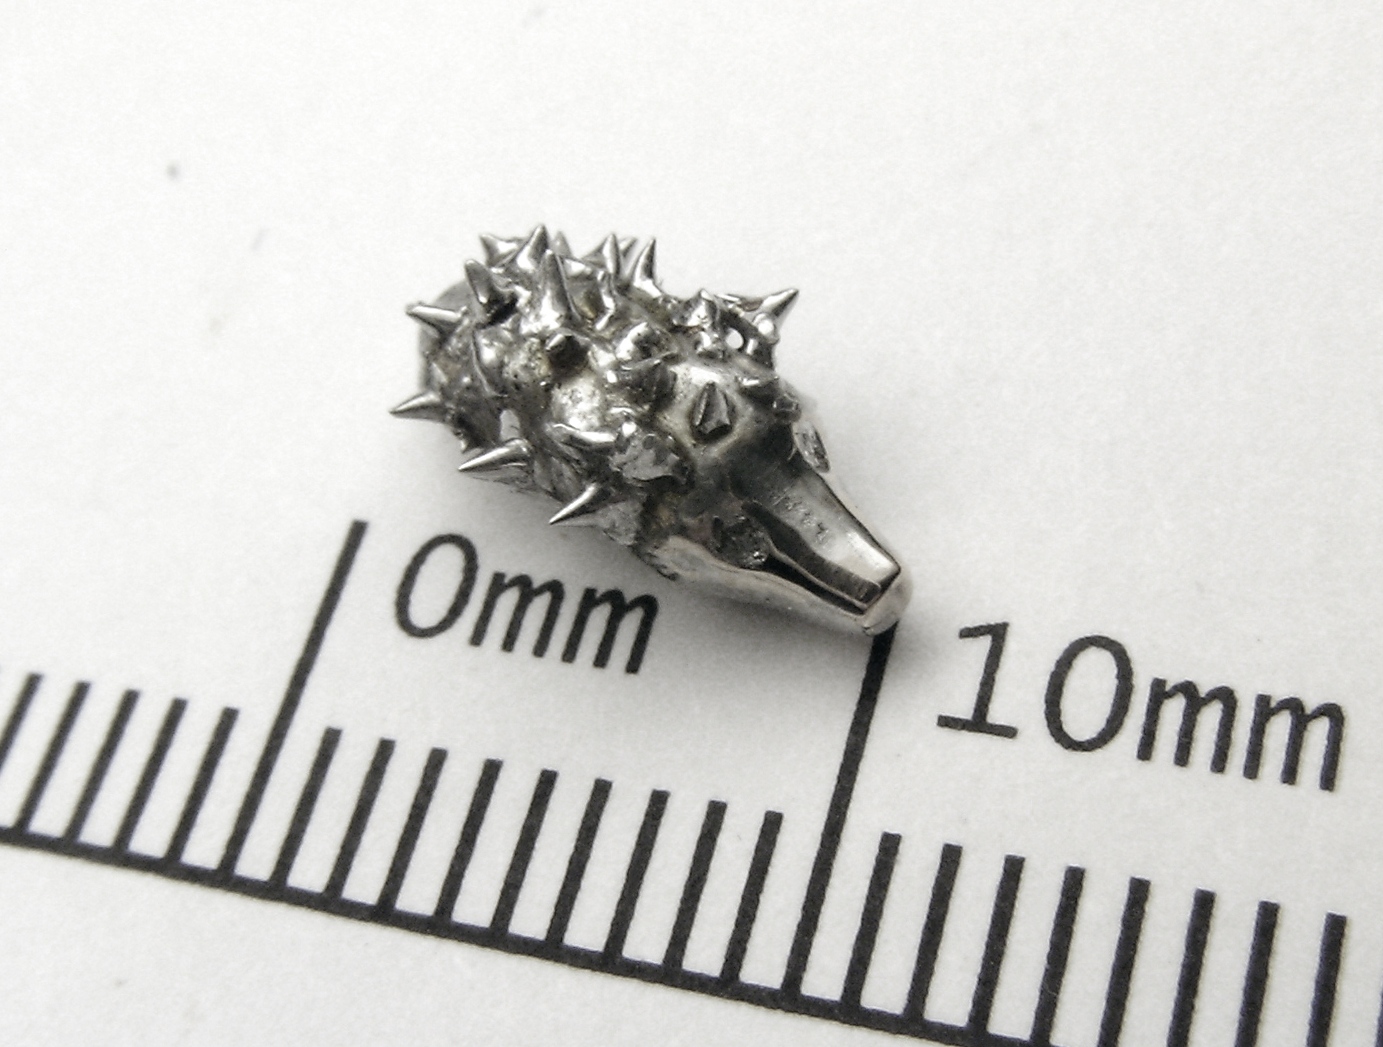
This hedgehog has a brass core, but is covered in tin, therefore it is gray instead of golden.
The basic form is really simple. The nose was quick to make with sand paper bits, though a file would have done just as well. The eyes have been drilled with a 1 mm drill bit.
Spikes were the more difficult part. My first idea was to put small pieces of wire inside holes, but it didn't work on a test piece. Drilling 1 mm holes accurately and densely enough was too difficult, especially because the form is so round.
Instead, I made the spikes from solder tin. I first warmed the figure enough that I could get it all covered in tin, in order to get an even color in the finished piece. Then I let it cool for a while.
The actual trick is to warm the piece just enough to melt some more solder on it, boil away the flux and then draw with the soldering iron away from the surface. If done properly, the solder will follow the iron and then sets before surface tension returns it back to a round form. By letting the brass core cool in between, you can repeat this process to make many spikes with just 1–2 mm spacing.
I was a bit surprised how easy it was to get the excess tin removed from the nose while polishing. It turns out that the tin is stronger when it is next to the brass surface, and therefore polishing leaves a very thin layer of tin on top of the brass. You shouldn't let the polishing bit touch the spikes, though, because it could easily damage them and they are shiny already.
Tulip
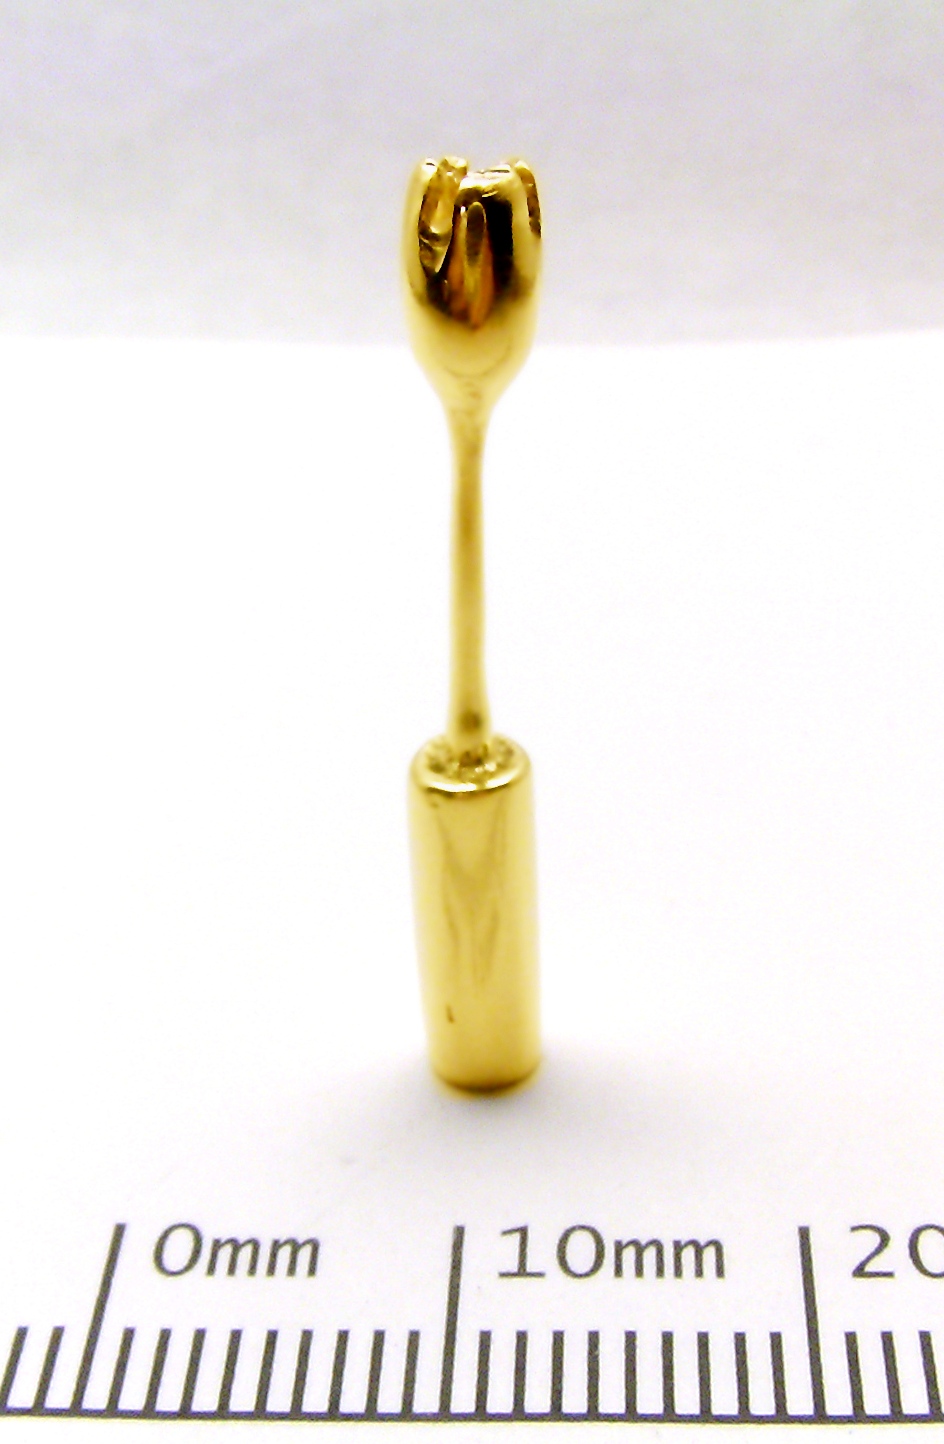
Here is a flower, a tulip, that I made in February. Its special feature is the really small stem, just 1 mm thick at thinnest.
The divisions in the flower head are made with a hacksaw. The bottom part of the form is trivial, because the vase is just the 4 mm rod without any shaping.
The stem is made with a knife. It is quite delicate, but actually not so fragile as it looks in the photo; it survived my carving anyway.
There is a small design bug, though: it falls very easily. More weight in the bottom would have been a good idea.
Future
I might make more of these one day; I'll post them here if I do. These are really rewarding projects, because each takes only a few hours to complete and makes a cool little decoration.
– Petteri Aimonen on 20.7.2010