Custom-built CNC router


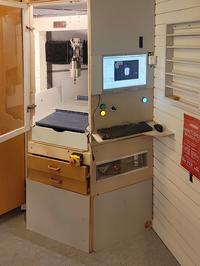
Our local hackerspace had some linear motion units that were donated to us. After sitting in storage for a few years, it was time to make some use out of them. As a starting point I had a cabinet that I had built for a robot hand project, which I abandoned after figuring out that it just wasn't going to be particularly useful as a CNC router.
The linear units we had were:
- 3x 110 cm long belt-driven units with aluminum body and linear rails
- 1x 70 cm long ballscrew stage with DC servomotor
- 1x 100 cm long ballscrew stage with DC servomotor
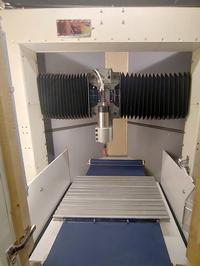
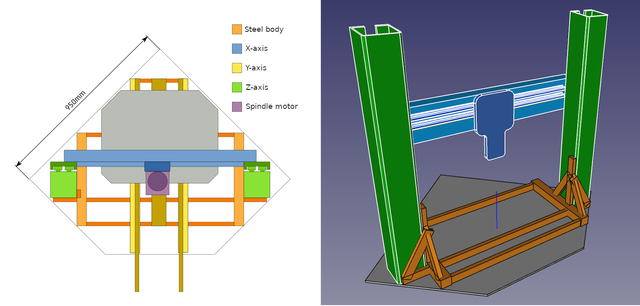
The design I ended up with uses the ballscrew units for X and Y movements. Two of the 110 cm belt-driven units were converted to trapezoidal leadscrews for the Z movement. Leadscrews have the benefit of being self-locking, avoiding the need of brakes to counter gravity. The third 110 cm unit was disassembled, with the rails going under the moving bed and the aluminum body as upper stiffener between the Z columns.

I don't have detailed plans for the machine itself, and it wouldn't be possible to replicate it directly because of the reused components. But there are some parts of interest that I'll detail in articles below. Drawings and LinuxCNC configurations are available on GitHub.
Dust shields
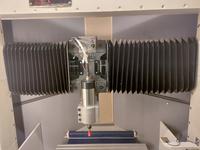
Precision linear rails and ballscrews are a great choice for CNC machines to minimize backlash. But they are easily damaged by metal chips, so dust shields are needed to keep the two apart.
Other blog posts
These blog posts on the build progress were written in Finnish and are automatically translated to English:
- Let's build a new CNC machine
- Welding the CNC machine bottom structure
- Installing trapezoidal screws for the Z axis
- Installing X axis stage
- From G-code to motors - Comparison of motion controllers
- Designing a DC motor driver
- Disassembling our previous DIY CNC machine
- Debugging common-mode noise in motor drivers
- First test cuts with new CNC machine

