
Smoothieboard conversion
The original electronics on CNC3020 are a blast from the past. Designed to be driven from a parallel port using realtime PC, it has just three TB6560AHQ stepper drivers and a big heatsink. I didn't feel like having a desktop PC just for this, so I replaced the driver board with a Smoothieboard.

Smoothieboard makes the device completely autonomous, so that you can just select a file to run and leave it running without a computer attached. Of course it also supports live feeding of G-code over USB bus.
Chassis mod and wiring it up
Cutting a few new holes (for USB and SD card) to the back panel was a quick job with Dremel. Also needed to solder new internal wiring, which didn't end up quite as neat as the original but is good enough for me.
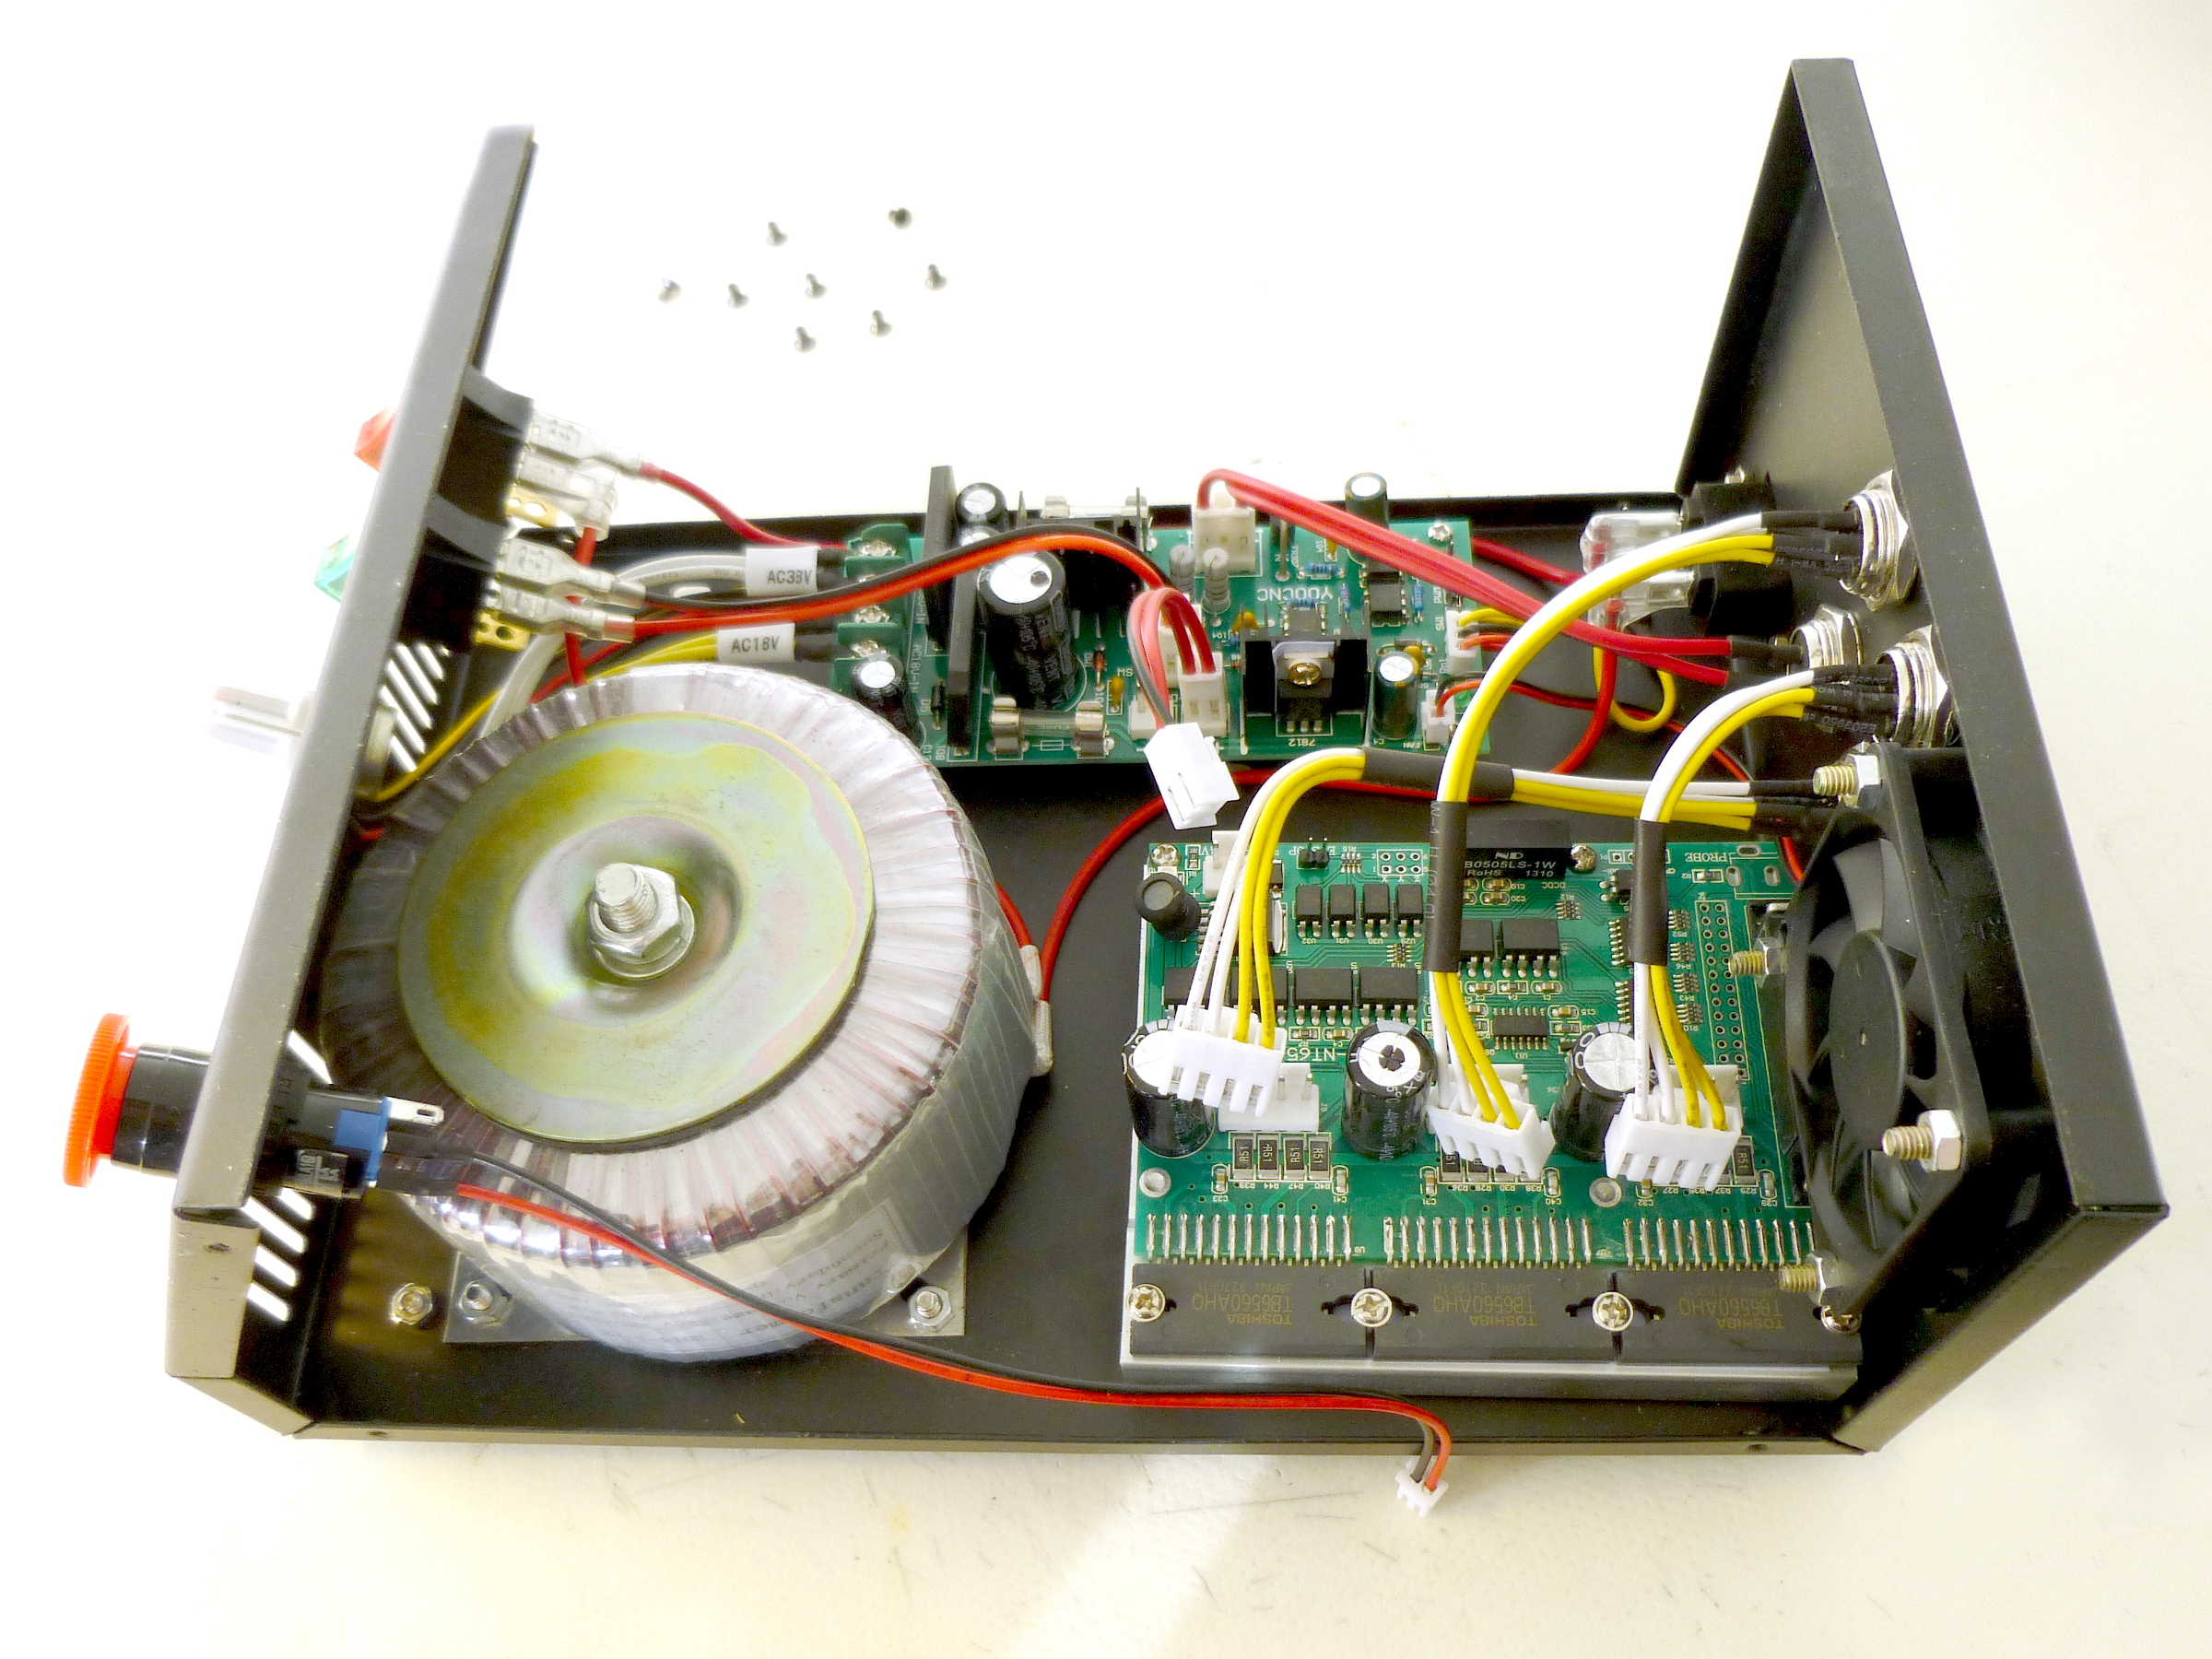 Before modifications
 After modifications
I wanted to use a LCD screen with the Smoothieboard, so I needed to redo the frontpanel also. This was somewhat more difficult, as it would have to be good looking also.
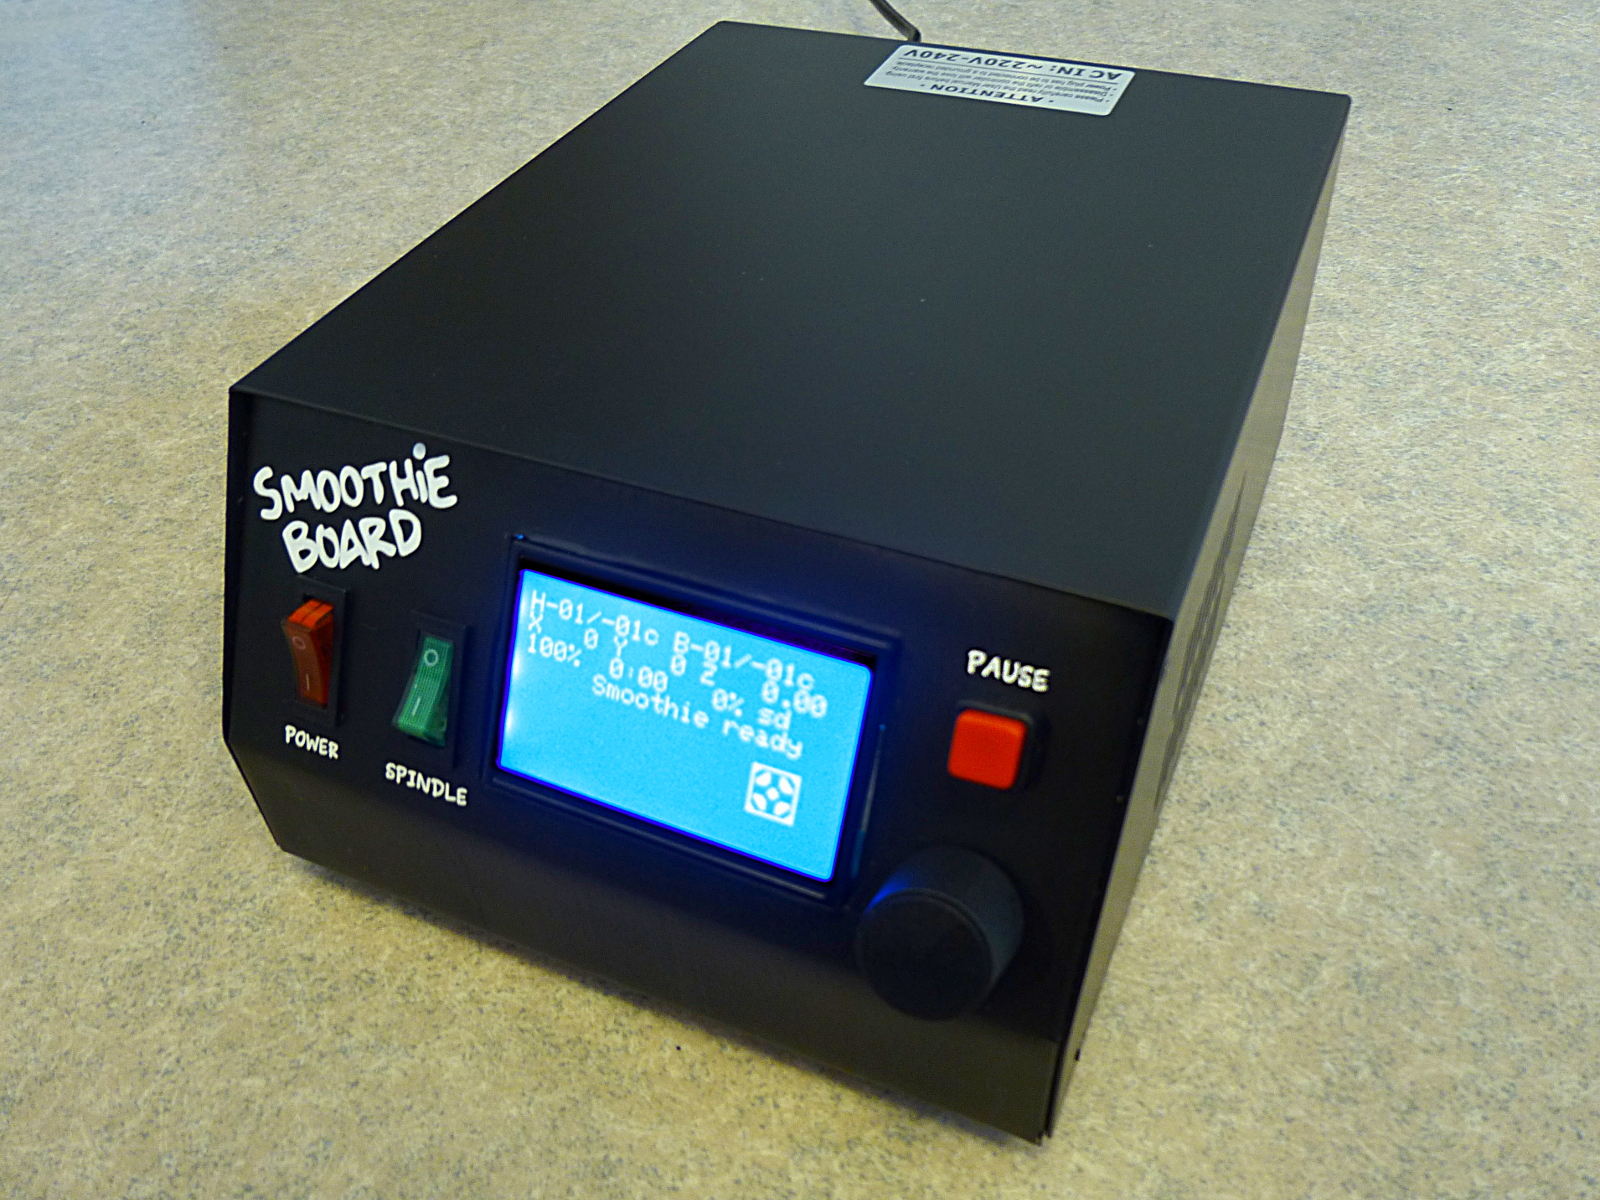
Surprisingly, double-printing a sheet of photo paper on my laser printed gave a very nice black surface. The texts in the above photo are the only places without toner, everything else is covered by a nice thick layer of it. The photo paper is spray glued to the box front panel, where it covers the old holes and texts.
Trying it out
The first pieces I machined were some fasteners for a gym bar. Immediately it was obvious that there is more to machining than just pressing "Go".

With an unsuitable endmill, the polycarbonate material leaves a very fuzzy surface. Also the milling direction affects the end result a lot. Still a lot to learn, but the results were usable if not very pretty.
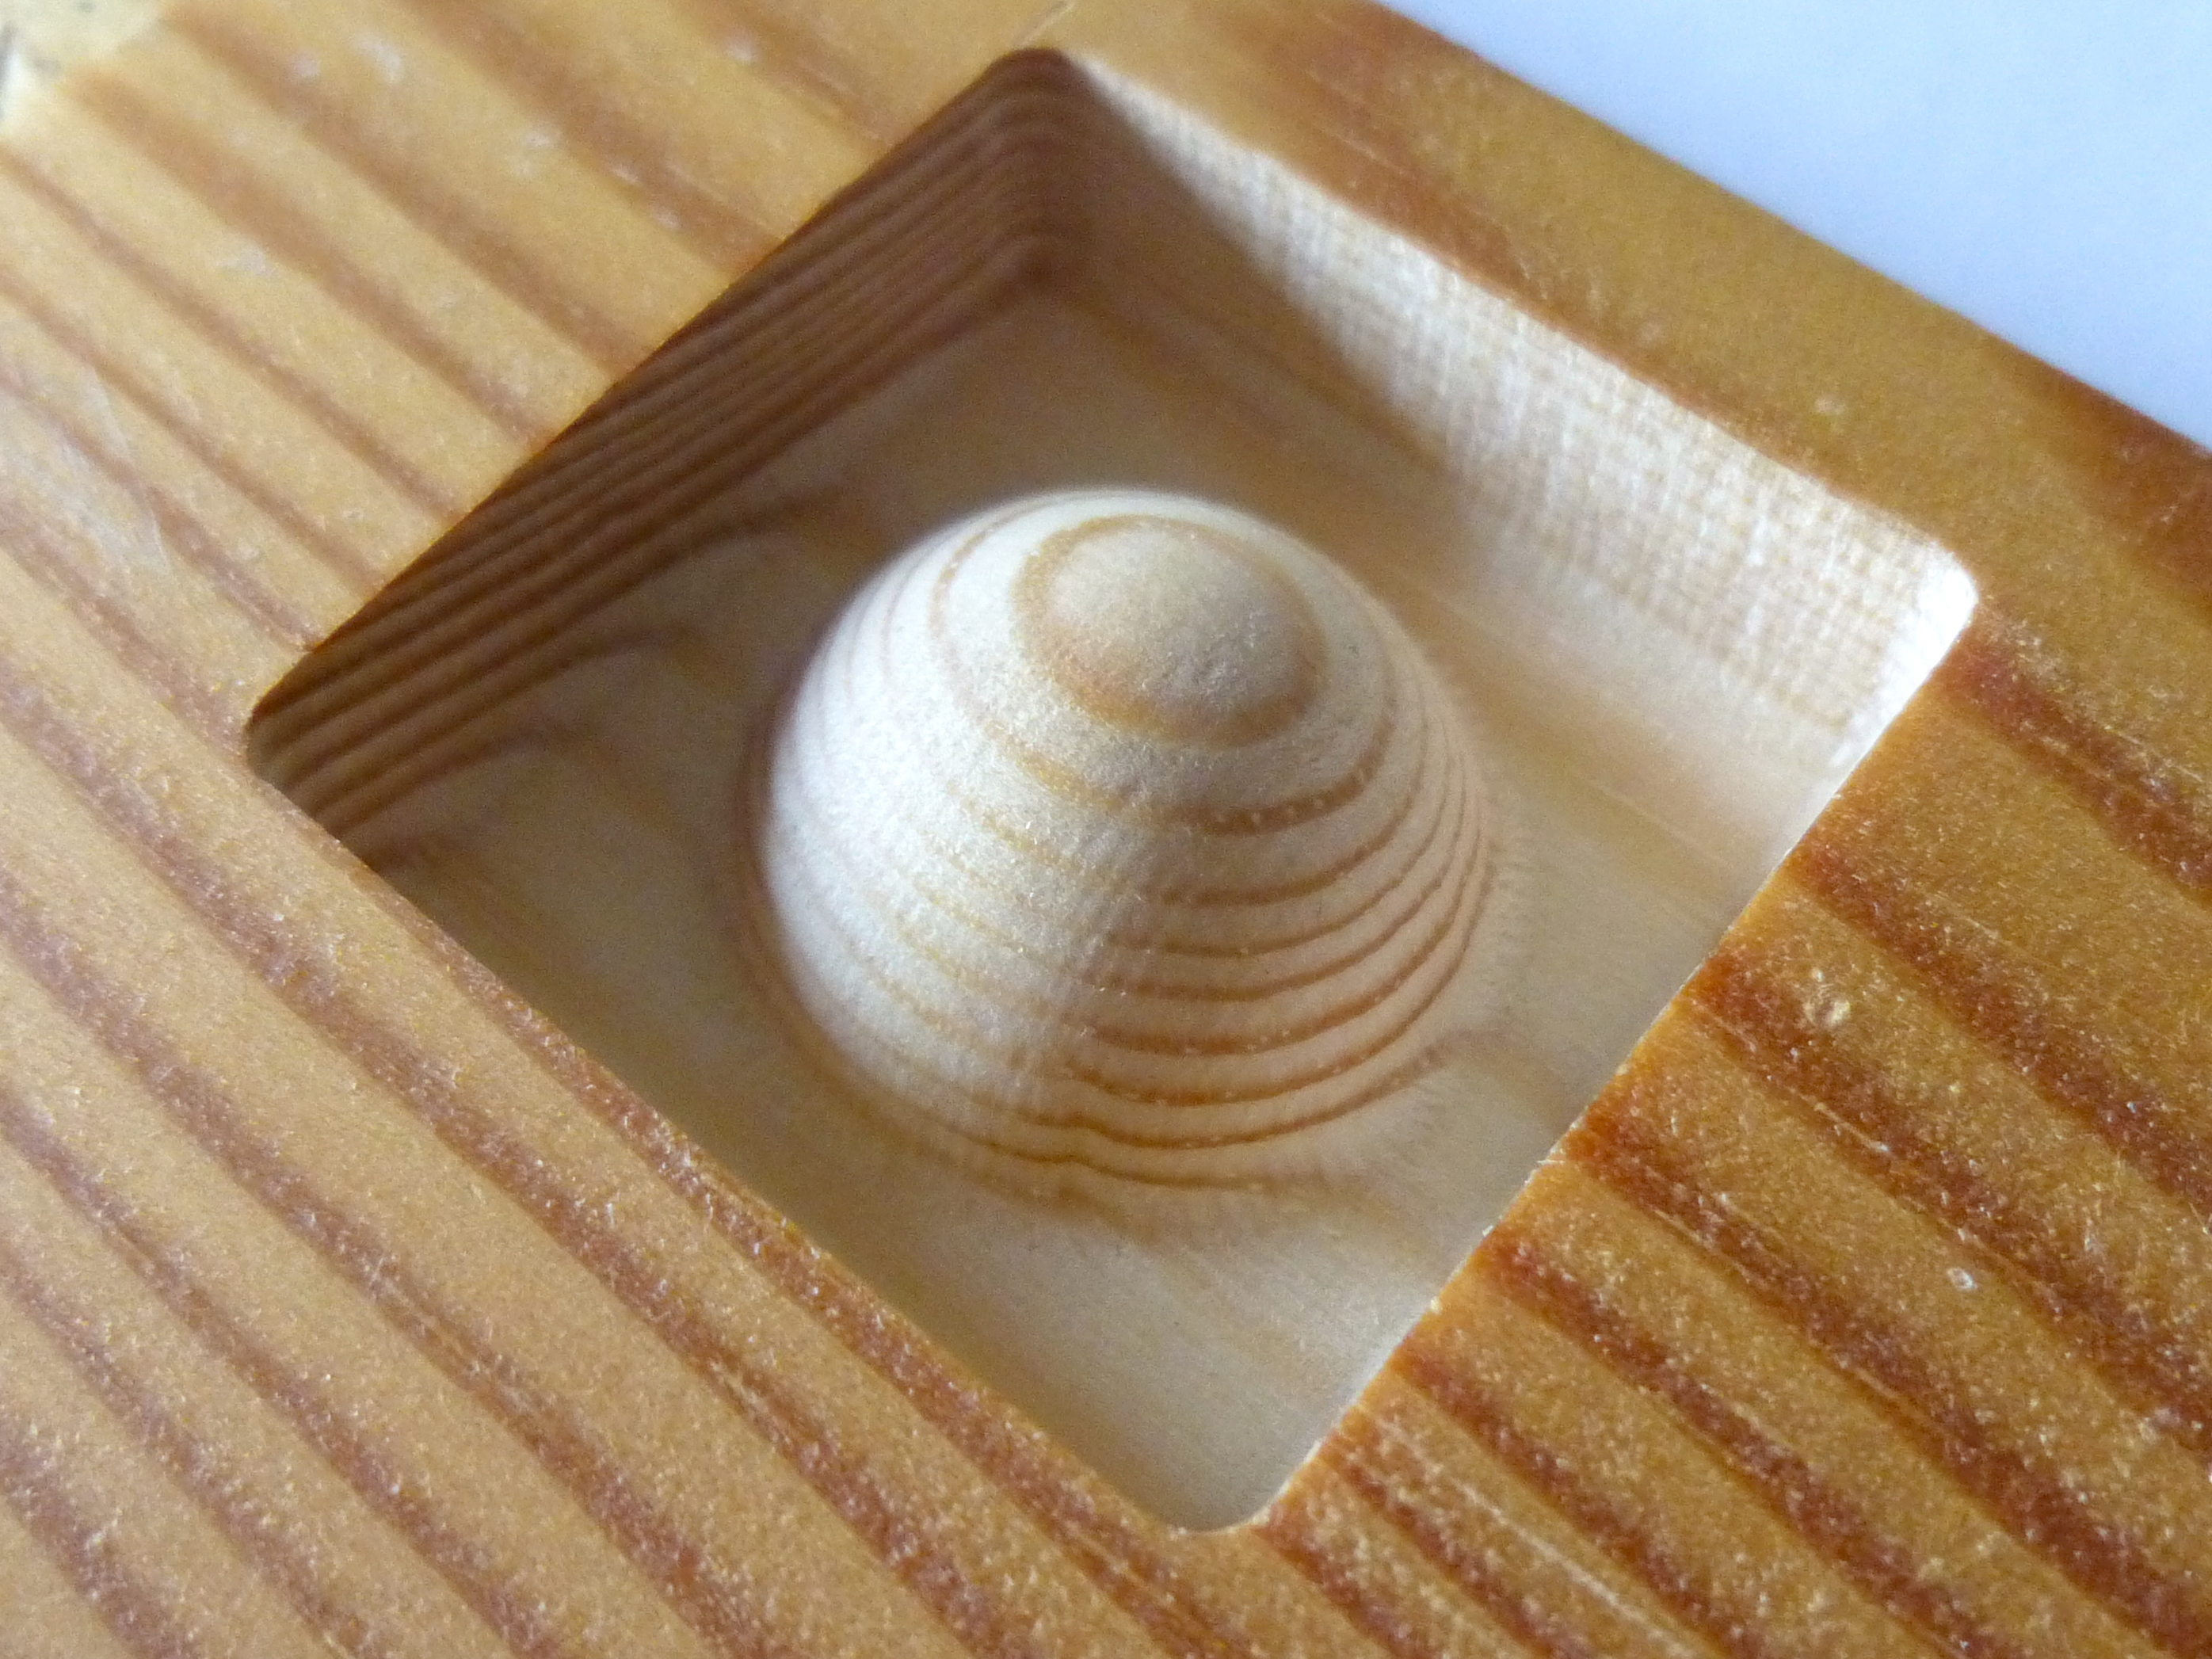
A second test piece in wood succeeded much better.
If your browser does not support WebM for video, you can either watch on YouTube or download the video.
The 2 cm diameter semisphere was designed in OpenSCAD and the toolpath made using PyCAM. Seems like most open-source CAM tools (I have tried PyCAM, MakerCAM and BlenderCAM) are still a bit buggy at places and produce quite inefficient toolpaths, but overall they get the job done. Buying a license to CamBam might be a good idea, or perhaps I'll be able to improve the open source tools.
I also tried out some aluminum machining by making a few workpiece mounting bars:
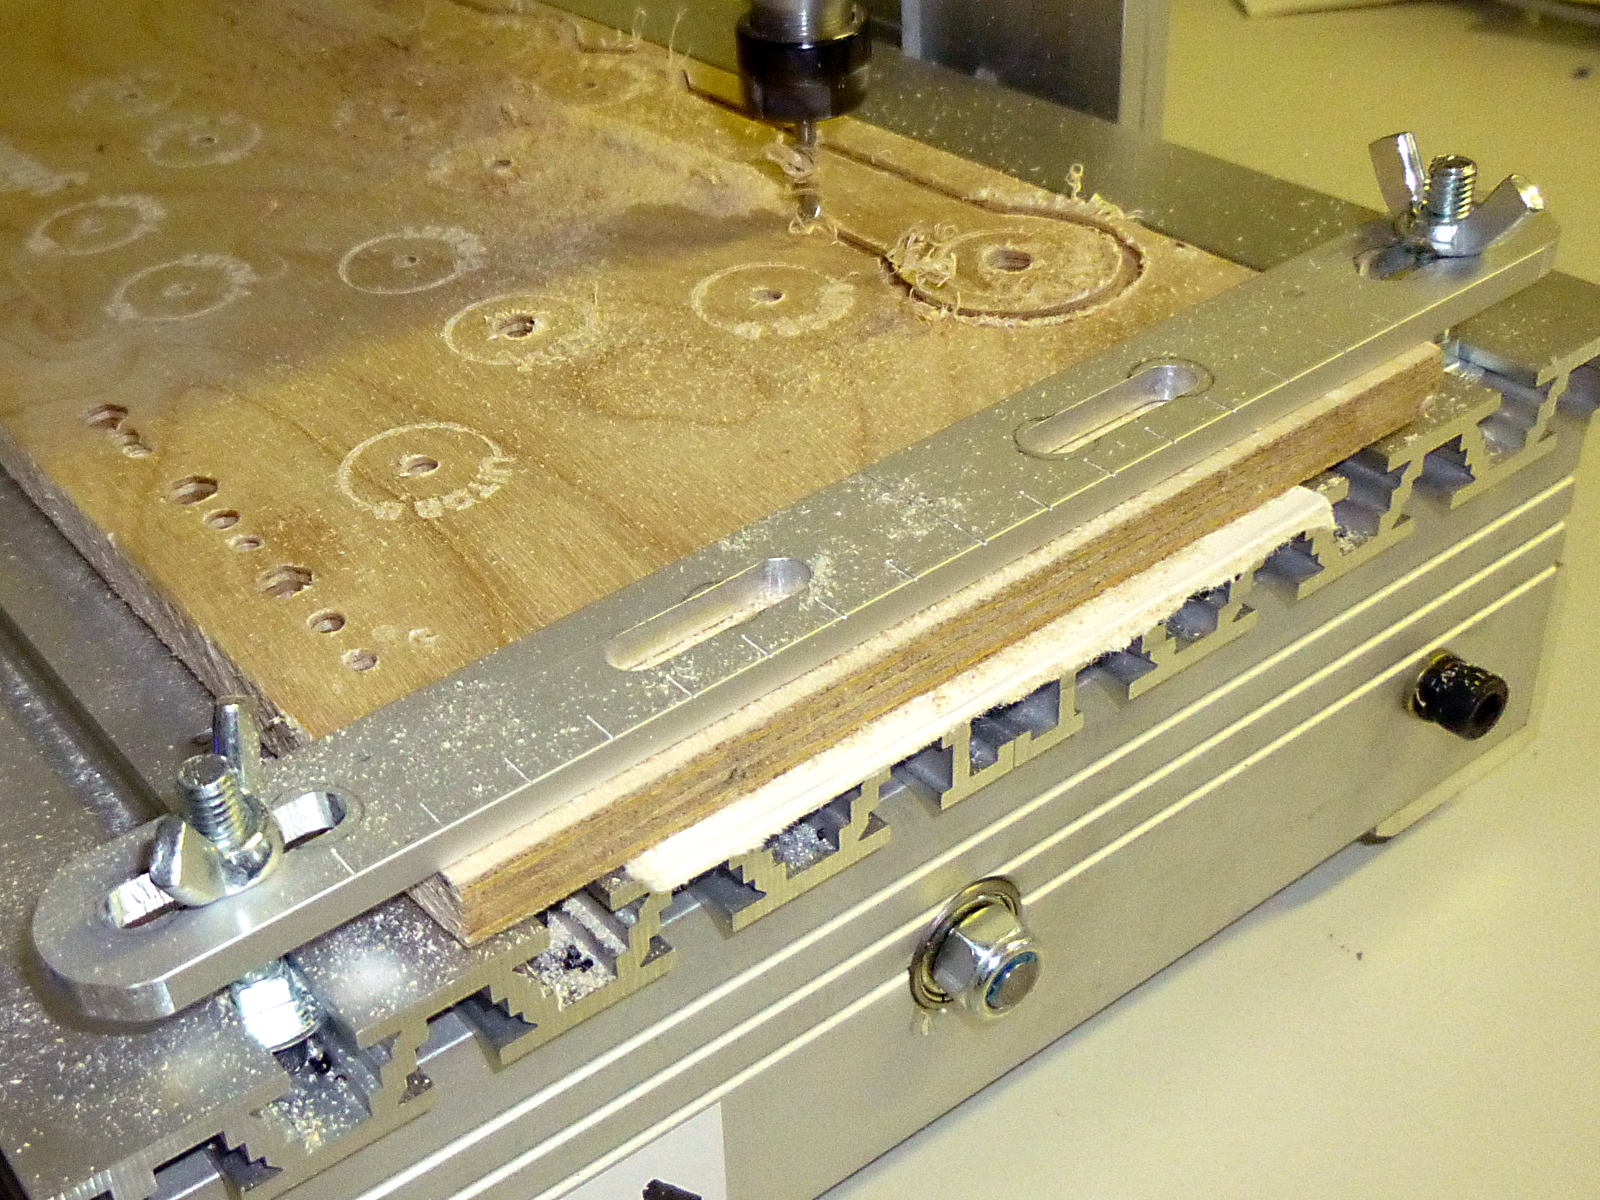
That went quite well also, though the mill seems to be prone to some resonances. At poor feed / overstep / step down combinations, the whole spindle starts to vibrate, ruining the surface quality completely.
– Petteri Aimonen on 29.6.2014